Nodes
Because Utility AI systems don't have any connections, there are just two possible types of nodes. Both of them do the exact same thing but one has the logic embedded on them and the other one delegates it to another AI system, such as a Behavior Tree, a GOAP, a State Machine or even another Utility AI system.
Tasks
The Task node has the logic of the need embedded on itself and is suitable for basic interactions, such as playing a guitar.
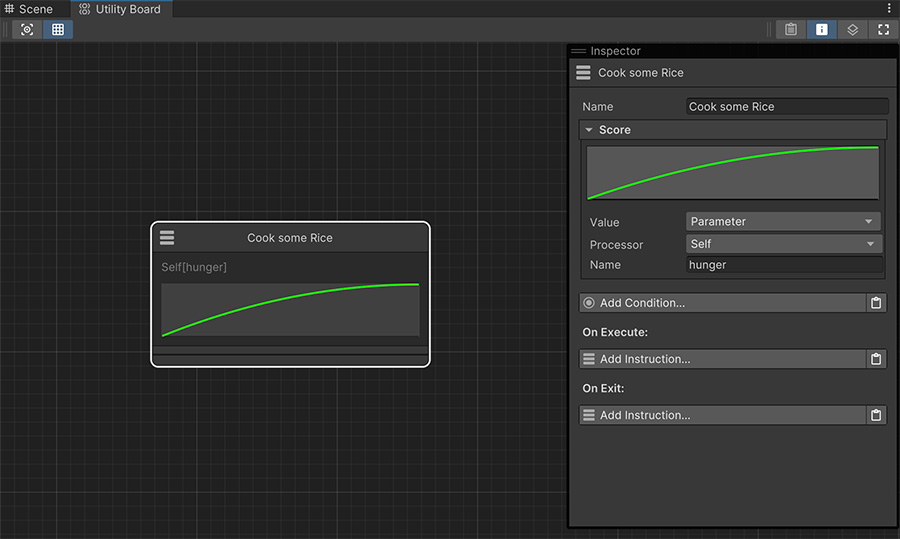
The top part of the node contains a Name field which doesn't have any effect on the execution and is used to easily identify it across all other nodes.
The Score section determines the easing Curve as well as the value used as input on the curve.
The bounds of the Value
By default the bounds of the value range from 0 to 1, meaning that the curve's left-most position is zero and the right-most is 1.
However if your game requires negative values or another range of values, you can modify the minimum and maximum value by selecting the Utility Board asset on the Project Panel and changing the corresponding fields.
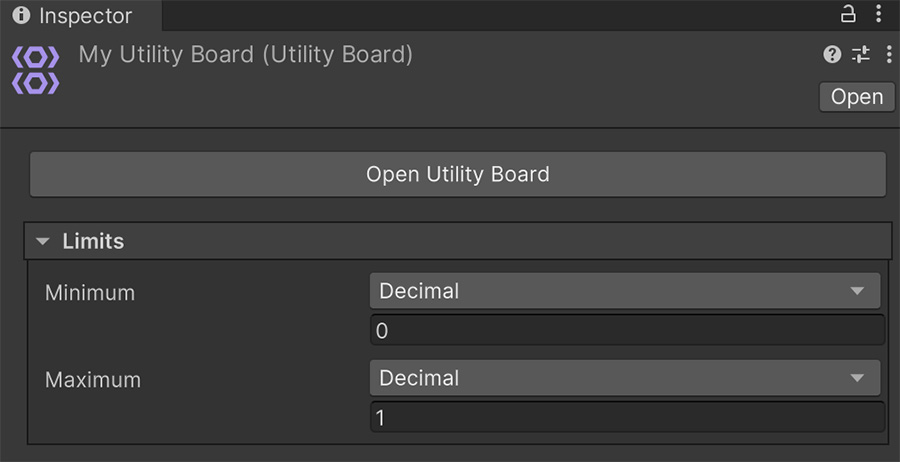
Bear in mind that the curve will always be constrained by 0 an 1, but the resulting value will be transformed to fit the limits defined in the Minimum and Maximum fields.
Curves allow to transform the input Value into something that's usable. Here are some common use-case scenarios:
Linear Curve
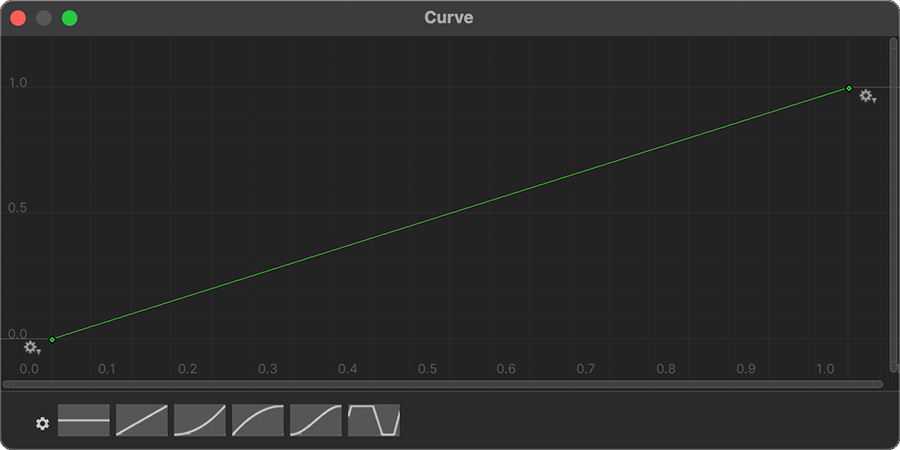
The most basic curve is the linear one, which takes the input Value and returns it as-is.
Inverse Linear Curve
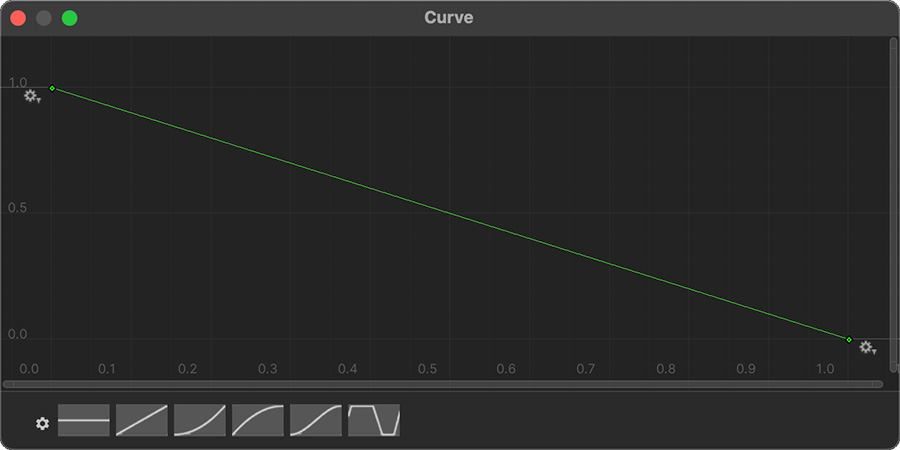
The inverse linear curve reverses the value given, meaning that the resulting value decreases as the input value increases, and vice-versa.
Easing Curve
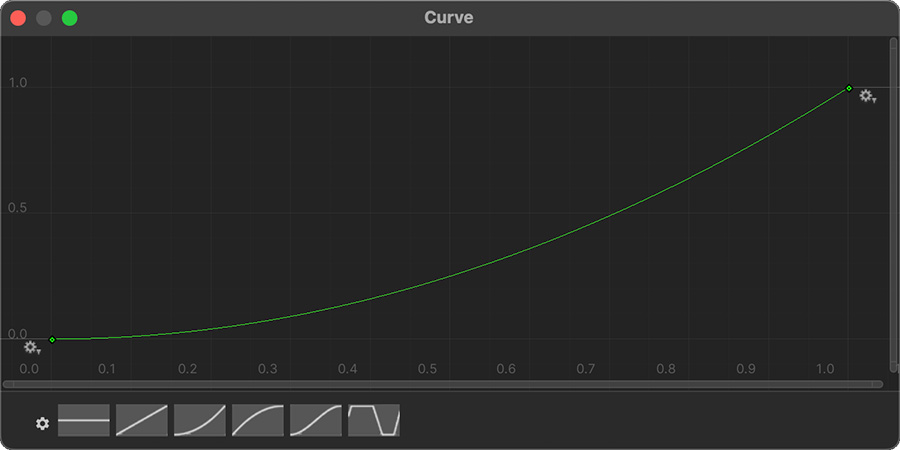
The smooth easing curve is similar to the linear curve because it grows as the input value grows. However the growth is much more visible as it approaches the end of the range.
Belly Curve
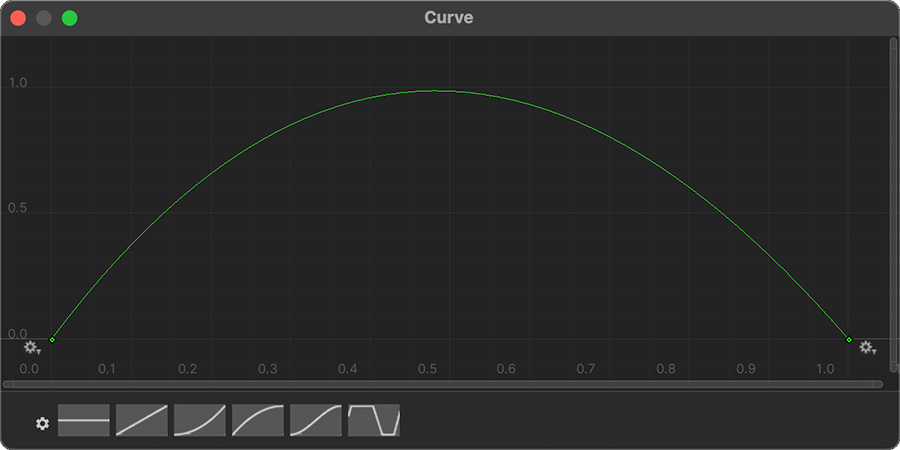
The belly curve (aka Bell curve or Gauss curve) is a very interesting one in which the growth happens in the middle but decreases at the edges. This is usually used for low-priority tasks that are executed out of boredom, such as scratching one's head.
The Conditions field allows to determine whether this need is valid and can be executed. If the conditions can't be satisfied, the node will not be taken into account.
The On Execute instructions run as soon as the need node starts executing. After it finishes, the task is considered to have finished.
Because some tasks might exit early due to unforeseen events, such as attempting to play a guitar that no longer exists, the On Exit instructions are executed after finishing running a need. These instructions are guaranteed to be called from start to finish and can be used to finalize the execution and restore the state of the agent back to before it started.
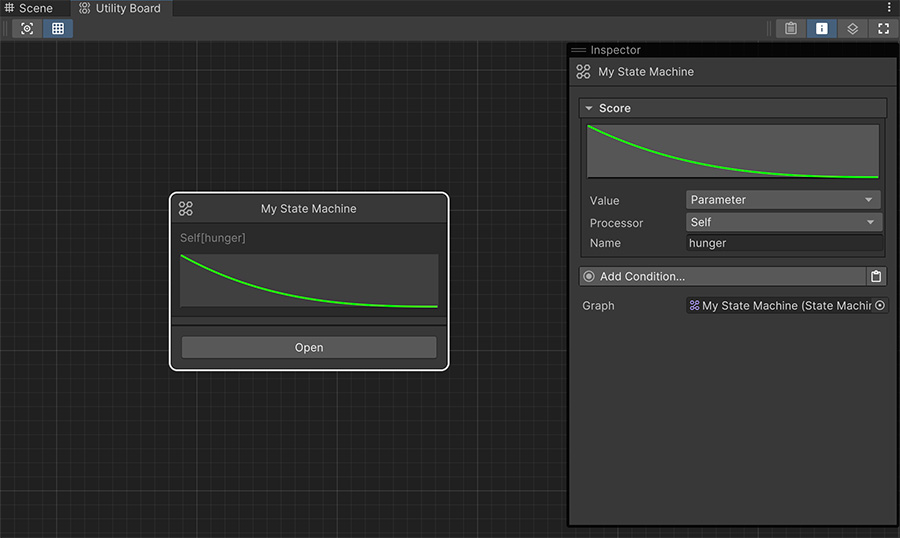
Sub Graph
The Sub Graph node works exactly the same way as the Task one, but instead of executing some On Execute and On Exit instructions, it delegates the responsibility of running the need node to another AI system, such as a Behavior Tree, a State Machine, an Action Plan or even another Utility Board.