Examples
The Localization integration kit comes with an example scene that shows how to change a Sprite and a text based on the currently selected language.
Example Setup
Because Unity Localization uses Addressables to load in the translation tables, there is unfortunately no way to install the example with everything set up. This page will guide you on how to properly configure it.
Setup
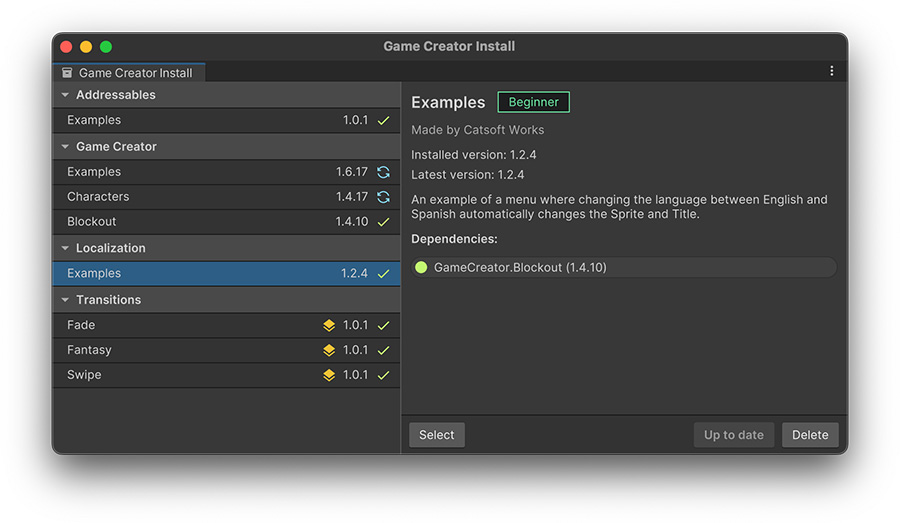
Once the Localization package and integration kit have been installed, open the Game Creator's Install window and proceed to install the Localization Examples.
Select and open the example scene. The Hierarchy view shows a canvas with a white square, and two buttons that read English and Spanish. These buttons change the language of the game, using the Change Language instruction.
The Trigger_Start is called as soon as the game starts, and simply executes the instructions from the trigger below.
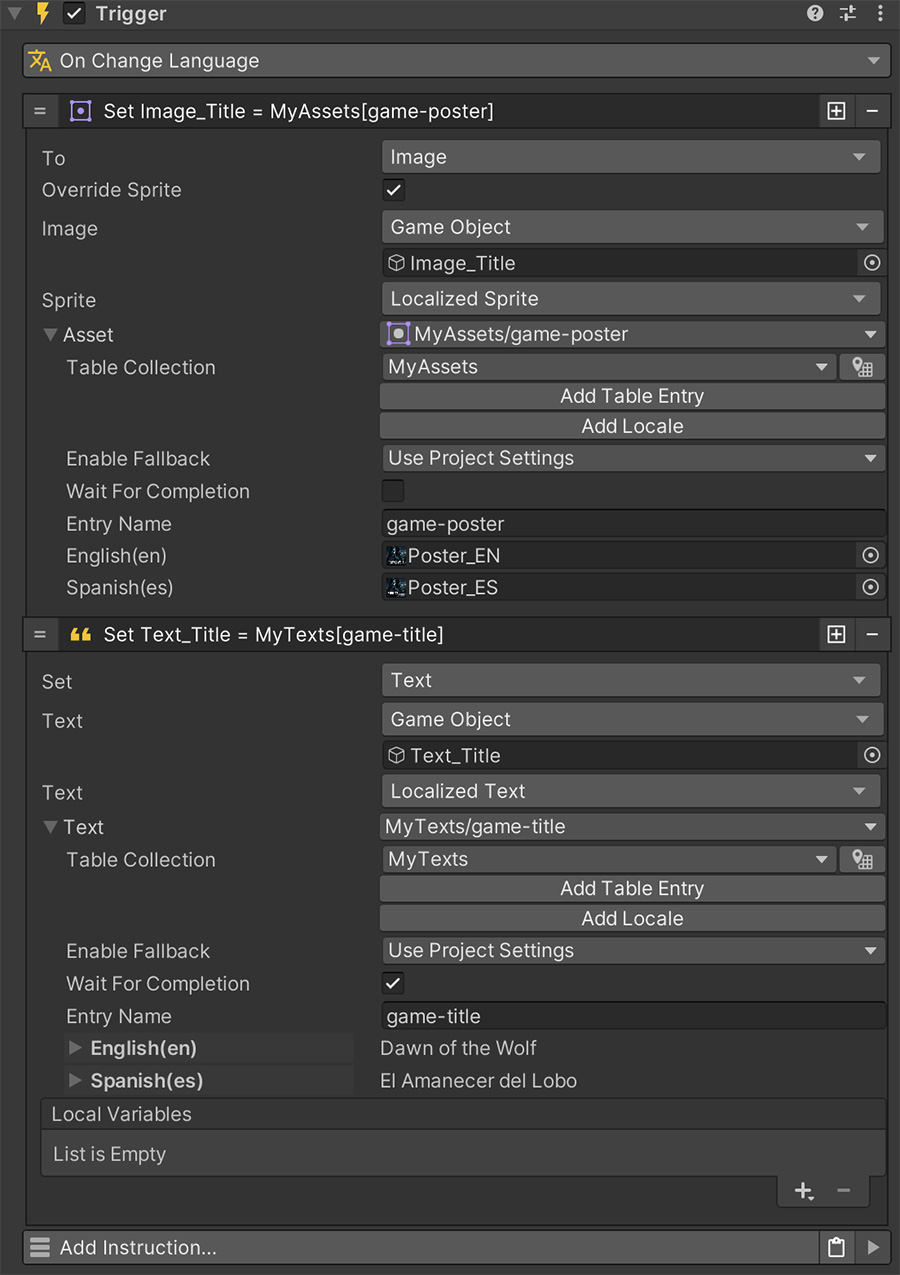
The Trigger_Set_Language is executed as soon as the game language is changed. This updates the Image component with a localized one, as well as the text of the Title.
Head to the top toolbar and open/create the Localization Tables by selecting Window → Asset Management → Localization Tables.
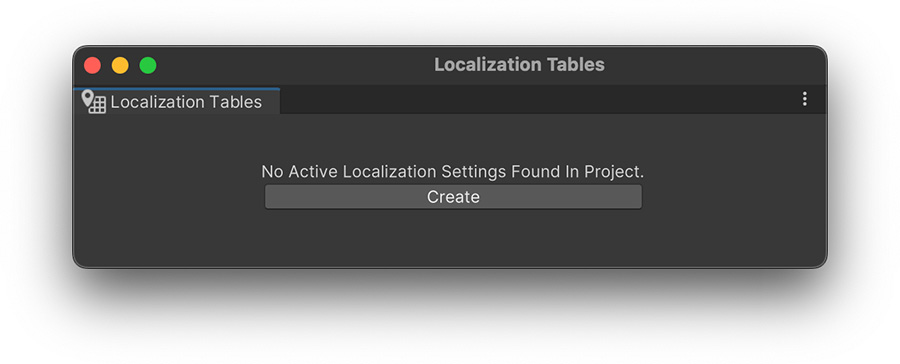
If you haven't created any tables yet, the window will prompt you to create a Settings asset and where you want to save it.
After that, you'll be able to create a new Localization Table by clicking on the left corner of the window, where it says "New Table Collection". This will create an asset that stores either string (texts) or asset translations.
Before creating any tables, the Locales need to be defined.
What are Locales
Locales are short texts that represent a language. For example es means Spanish and en represents English. There are also regional locales, such as en-UK which is the English spoken on the United Kingdom.
Click on Locale Generator and select English and Spanish (en and es respectively).
Let's create two Table Collections:
- MyTexts: Select the String Table Collection to store the localized texts of the game.
- MyAssets: Select the Asset Table Collection to store the localized assets of the game.
Select the MyTexts and add a new entry called game-title and set the following texts:
en: Dawn of the Wolfes: El Amanecer del Lobo
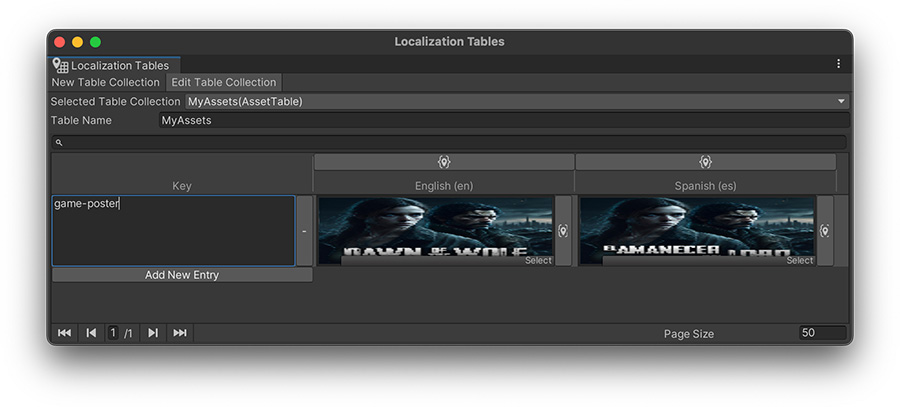
Select the MyAssets and add also a new entry called game-poster with the following sprites:
en: Poster_EN.pnges: Poster_ES.png
You'll find these sprites inside the example folder at Assets/Plugins/GameCreator/Installs/Localization.Examples/Localization/Sprites/.
Example
Now that the example is set up, all that needs to be done is to link the table collection data with the Image and Text components from the scene.
To do so, select the Trigger_Set_Language trigger and expand both instructions.
- On the Set Sprite instruction, change the Sprite field to Localized and select the key
game-posterkey. - On the Set Text instruction, change the Text field to Localized and select the key
game-titlekey.
Create a new Entry
Alternatively you can also set the entry from inside the Property of the Instruction.
Click play and see how clicking on the buttons changes the game's language as well as the Image and Title texts.