First Steps
In this section you'll learn to setup a very simple example that uses some of the core features of Game Creator. It shouldn't take you more than 5 minutes to have it up and running.
Preparing the scene
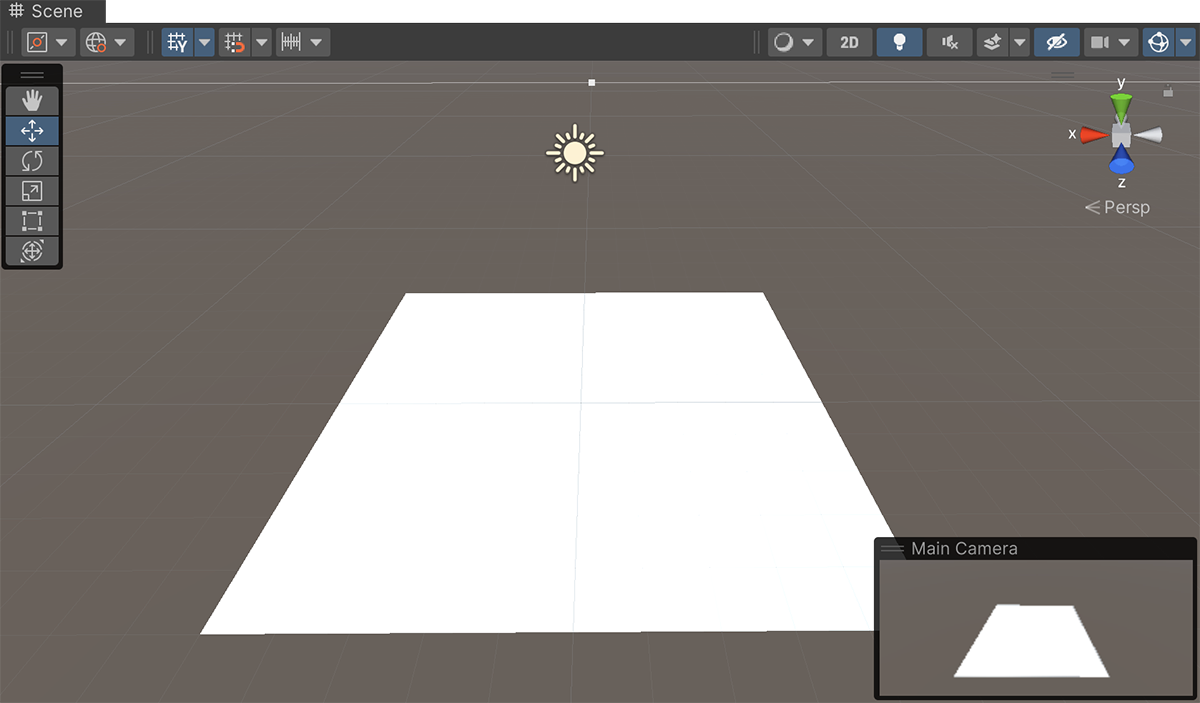
Let's start creating the geometry that will hold the scene. Right click on the Hierarchy Panel and select 3D Object → Plane. This is going to be the floor.
If the scene doesn't have a light, create one right clicking again on the Hierarchy Panel and select Light → Directional Light and place it somewhere that shines downwards towards the plane.
Finally, if the scene doesn't have a camera object, create one clicking on the Hierarchy Panel and select Create → Camera. Select it and, in the upper-part of the Inspector window, change its tag from Untagged to MainCamera. You should also change the camera's position and rotation so it points towards the center of the plane, in order to visualize what happens in it.
Creating the Player
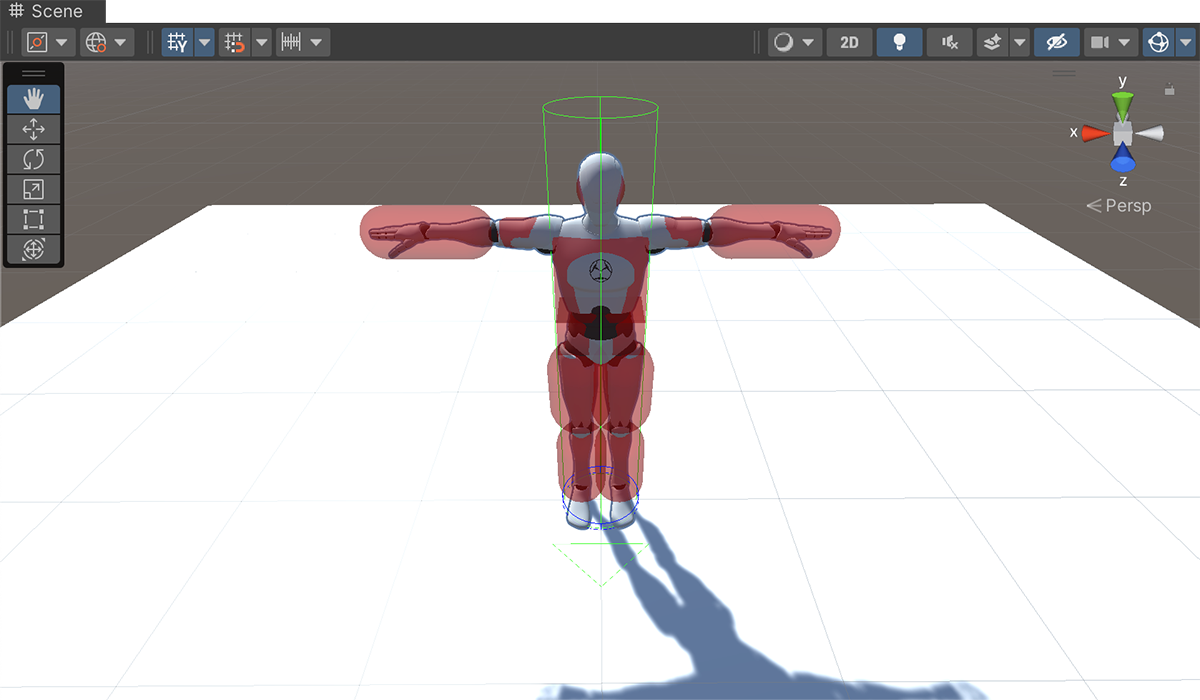
To create a player character, open the Hierarchy Panel context menu and select Game Creator → Characters → Player. This should have created a character object in the scene in T-pose. If you click play, you should be able to control the default player using the WASD keys or a controller, if you have one plugged in.
Creating a camera
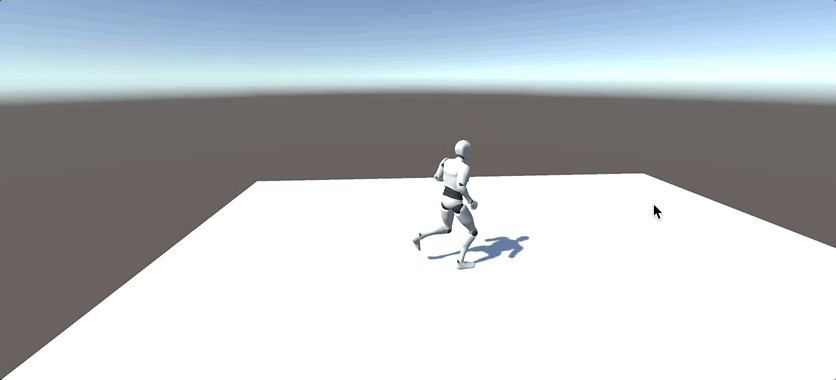
Game Creator uses Camera Shots to tell the main camera how to behave and which target/s to follow. The easiest way to follow the player character is to use the Third-Person camera shot, which automatically orbits around the player using the mouse's movement and allows to zoom in/out.
To create a Camera Shot open again the Hierarchy Panel's context menu and select Game Creator → Cameras → Camera Shot.
Automatic camera detection
Creating a new Camera Shot will automatically add the Main Camera component on the scene's main camera, if any at all. If the main camera doesn't have any Camera Shot assigned, it will assign this newly created shot.
The default Camera Shot is the Fixed one. However, we want to use the Third-Person Orbit shot. To change the type of camera shot, click on its name and select Third Person from the dropdown menu.
New options should appear now. We need to specify the target at which the camera will look at and orbit around. In both cases, this is the Player, so choose the "Player" option from the Look Target and Orbit Target fields.
Enter Play-Mode and you should be able to move the player like before, but the camera should also track it and orbit around it using the mouse or controller's right stick.
Next Steps
Check out Game Creator's free courses for more step-by-step tutorials