Actions
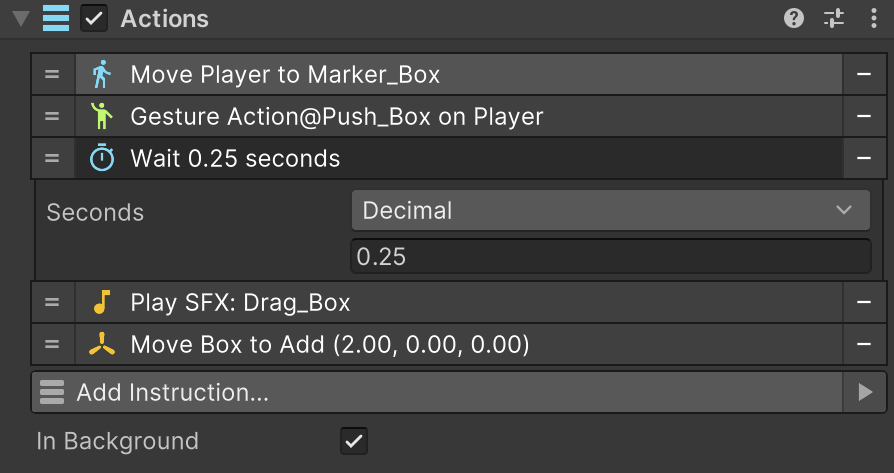
Actions are components that have a list of individual Instructions which are executed from top to bottom. It's important to note that an Instruction won't be executed until the previous one has finished.
Task List
Actions can be thought as task lists that must be completed from top to bottom.
Creating Actions
There are two ways to create an Actions object. One is to create an object that contains an Actions component, by right clicking on the Hierarchy panel and selecting Game Creator → Visual Scripting → Actions. This creates a scene object with the component attached to it.
However, an Actions component can also be added to any game object. Simply click on any game object's Add Component button and type Actions.
Deleting Actions
To delete an Actions component, simply click on the component's little cog button and select "Remove Component" from the dropdown menu.
Adding Instructions
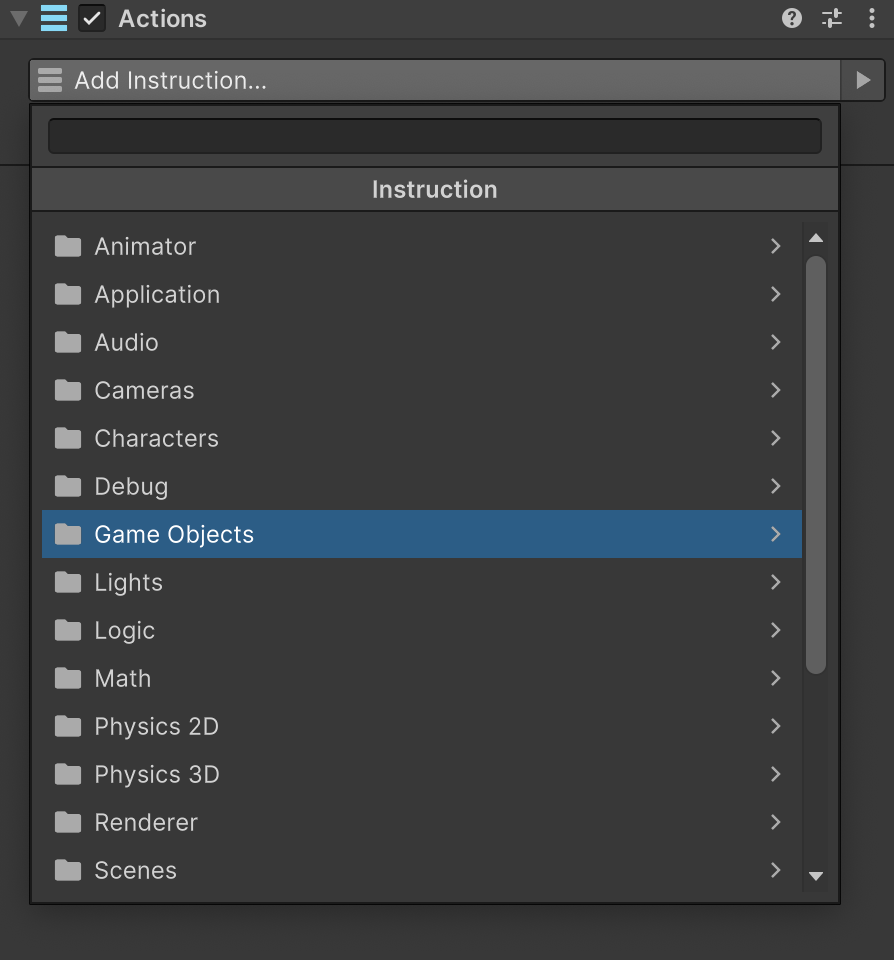
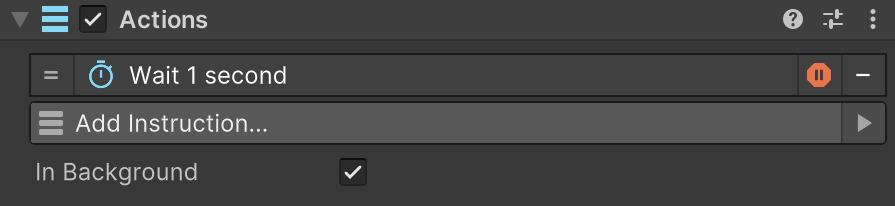
To add an Instruction to an Actions component, click on the "Add Instruction" button to pop a dropdown list with a searchable field. Navigate through the different categories or search for a specific instruction and click it to add it at the bottom of the list.
It is also possible to add Instructions at any point of the list. To do so, right click on any existing Instruction and choose "Insert Above" or "Insert Below" from the contextual menu that appears.
Accessible Fuzzy Search
Game Creator uses an advanced indexed search algorithm that allows to both syntactically and semmantically understand what the user is trying to search, even if the search contains mispelled words. For example, searching for "move" will display the "Move Character" instruction, but also the "Change Position" one.
Built-in Documentation
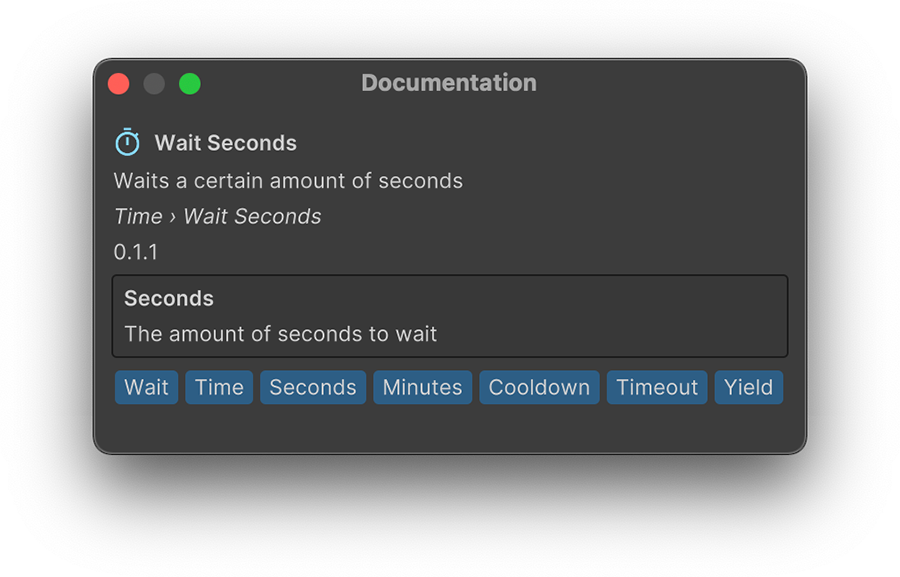
All Instructions have built-in documentation that explain what it does as well as a small description of each of its parameters. To access its documentation, either search for that particular instruction on the documentation, or right click it on the Instruction and select Help. A new floating window will appear with all the necessary information.
Debugging Tools
Actions come with built-in tools that allow to easily visualize and what's happening at runtime. Right click on any Instruction to pop a context menu with the Disable and add a Breakpoint options.
Disable Instruction
This option disables a particular instruction, as if it was not there.
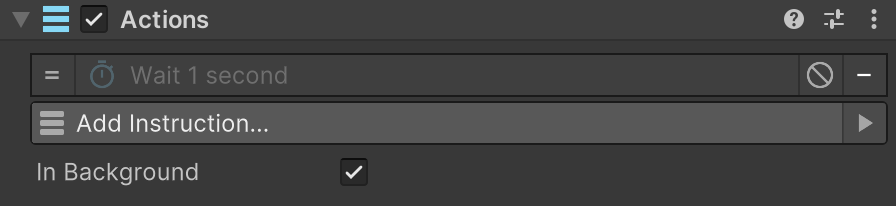
The Instruction is greyed out and a special icon appears on its right side. Click the icon to enable the instruction again.
Add a Breakpoint
A breakpoint pauses the Unity Editor upon reaching a particular Instruction, right before executing it. This is very useful if you want to check the state of certain data before the execution progresses any further.
When an Instruction has a breakpoint, it displays a red icon on its right side. Clicking it will remove the breakpoint from the Instruction.
Editor only
It is important to note that breakpoints only work on the Editor and have no effect when building the project as a standalone application.