Setup
Welcome to getting started with the Melee module. In this section you'll learn how to install this module and get started with the examples which it comes with.
Prepare your Project
Before installing the Melee module, you'll need to either create a new Unity project or open an existing one.
Game Creator
It is important to note that Game Creator should be present before attempting to install any module.
Install the Melee module
If you haven't purchased the Melee module, head to the Asset Store product page and follow the steps to get a copy of this module.
Once you have bought it, click on Window → Package Manager to reveal a window with all your available assets.
Type in the little search field the name of this package and it will prompt you to download and install the latest stable version. Follow the steps and wait till Unity finishes compiling your project.
Examples
We highly recommend checking the examples that come with the Melee module. To install them, click on the Game Creator dropdown from the top toolbar and then the Install option.
The Installer window will appear and you'll be able to manage all examples and template assets you have in your project.
- Examples: A collection of scenes with different use-case scenarios
- Brawl: A deliberate and realistic combat system where characters fight with punches and kicks similar to Souls-like games
- Sword: A more complex and free-flow combat system with fast-paced animations similar to Devil May Cry and Kingdom Hearts
- Sword FPS: A simple combat system tailored to first-person view
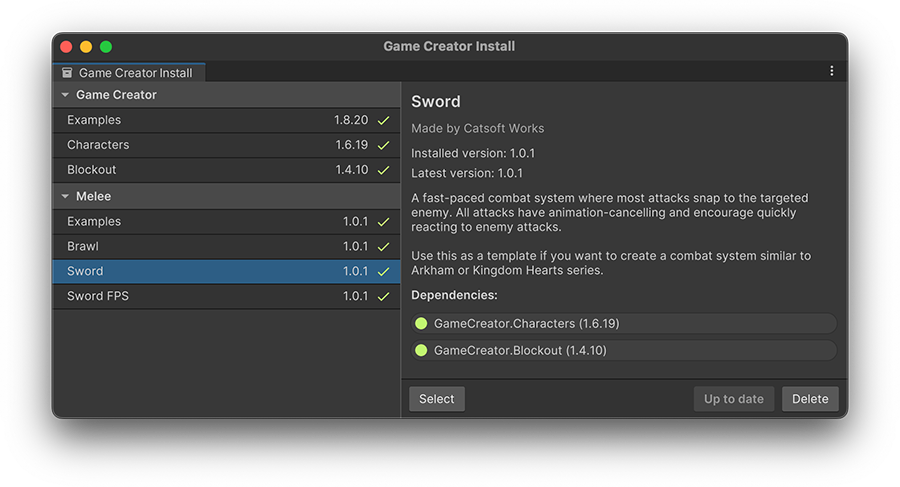
The Examples requires all combat systems in order to work.
Dependencies
Clicking on the Examples install button will install all dependencies automatically.
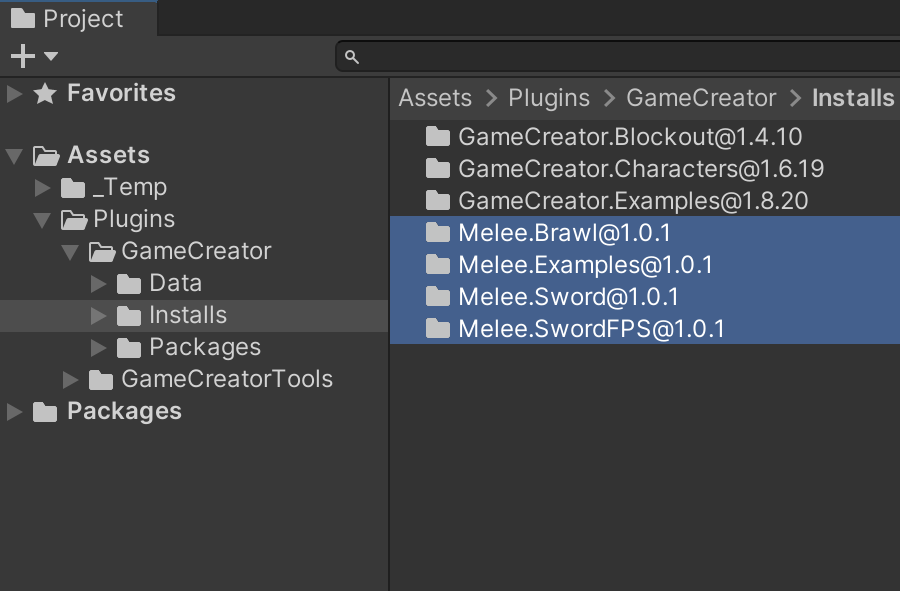
Once you have the examples installed, click on the Select button or navigate to Plugins/GameCreator/Installs/Melee.Examples/.