Sights
The Sight assets determine an aiming mode for a weapon, such as whether it uses forward-kinematics, inverse kinematics, the animations it plays, crosshairs, laser points and so on.
To create a Sight asset, right click on the Project Panel and navigate to Create → Game Creator → Shooter → Sight. This will create a new Sight asset that you can move anywhere you want.
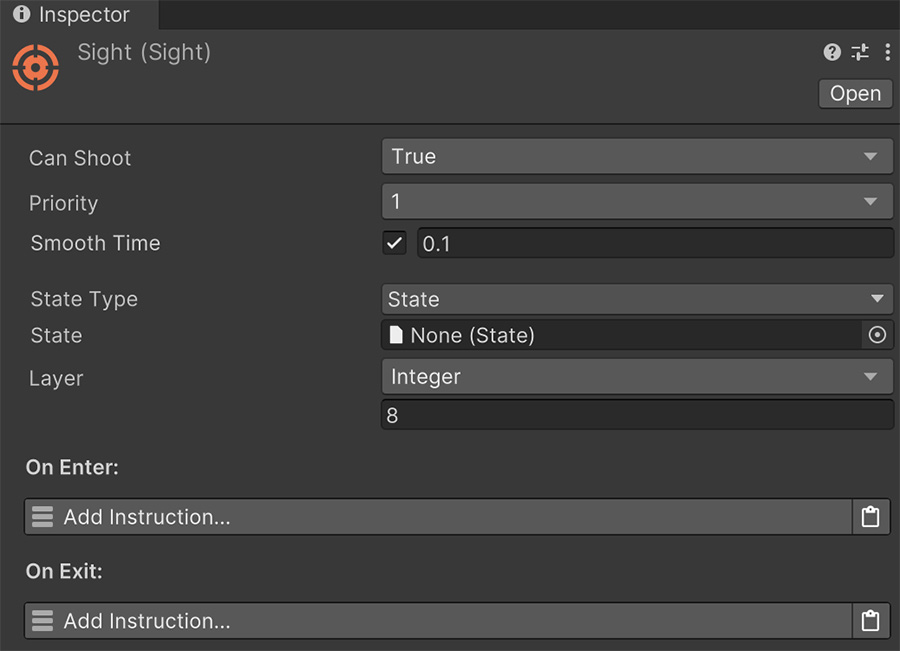
The Can Shoot field determines whether the weapon using this sight can shoot or not.
Using non-shooting Sights
Sight assets offer the flexibility to create different poses and mechanics depending on the situation. For example, if a character draws the weapon but keeps it on its side, this is a non-shooting sight and the previous value should be set to false.
One can even make a cover shooter mechanic using Sight assets where being in cover makes it impossible to shoot, but peeking around corners, which could be other Sight assets switched to, allows the character to aim and shoot.
When aiming with multiple weapons, the Inverse Kinematics system will only use one Sight information to translate and rotate limbs. The Priority field determines which weapon should be picked up by the system to aim.
Example of Priority
For example, let's say we're making a game where the player can equip a pistol on its right hand and optionally, a flashlight on the left side.
The Sight of the pistol weapon should have a higher priority because aiming with the pistol with precision is more important than with the flashlight. In this case, the pistol should have a higher priority value.
In case of equipping multiple weapons with equally importance, the priority doesn't matter because each Sight should take over both the left and right hands and aim with them.
The Smooth Time determines how much the weapon lags behind when aiming. If disabled, there won't be any lag but the character will instantly aim towards the targeted point. Adding some lag helps making the aiming feel more organic and natural.
The State field allows to enter an animation State when switching to the Sight.
Using Avatar Masks in States
It is specially useful to mix Weapon states and Sight states. While the animation state in the Weapon asset can provide a common locomotion animation on the lower body, the Sight state can mask the lower-body so it only changes the upper-body.
This is how the demos in this module are built and helps reduce the number of animations needed.
Instructions
The On Enter and On Exit instructions are executed every time a Sight is switched to and switched from.
Changing modes
A common mechanic in third-person shooters is reducing the field of view when aiming with an over-the-shoulder camera.
This can be very easily done adding a Change Field of View instruction on both callbacks: On Enter should reduce the field of view and On Exit restoring the default value.
Aiming
The next section configures where the character aims when using this Sight.
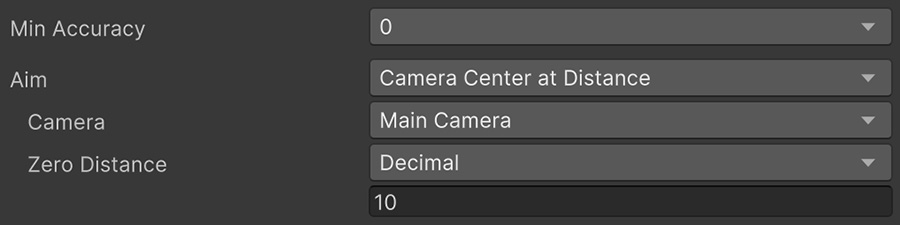
The Accuracy field allows to define a minimum accuracy value. A value of 0 (default) means the accuracy can be at its highest. However some games make some poses like hip-fire or blind-shooting from cover have less accuracy than aiming down-sides.
The Aim field is a dropdown that changes where the character should aim and how this point in space is calculated.
Camera Center at Distance
The character aims at a point that is aligned with the camera's forward vector and at the specified distance.
When to use
This aiming mode should be the default for the player in first-person and third-person shooters. It sacrifices precision but in return it is more performant.
Camera Center with Raycast
The character aims at the intersection (if any) between the forward vector from the camera's perspective and the weapon's muzzle vector.
When to use
This aiming mode should be used by first-person and third-person shooters where precision is paramount. It casts a ray from the camera's center forward and aims at the point collided.
This aiming mode avoids the character shooting at obstacles that get in the way between the muzzle and the targeted point by slightly rotating the weapon towards the estimated point of impact, instead of a point at a certain distance.
Character Target
The character aims at a specific game object's position.
When to use
This aiming mode should be used when the weapon has a lock-on mechanic, and the target does not depend on where the camera or cursor is.
Pointer on Plane
It creates an abstract plane on the character's position defined by two axis and projects the point onto it from the camera perspective.
When to use
This aiming mode is perfect for top-down shooters or side-scroll games.
For top-down shooters, the projection plane should be a horizontal one (XZ) and for side-scroll perspectives either XY or ZY, depending on the vertical plane where the characters can move.
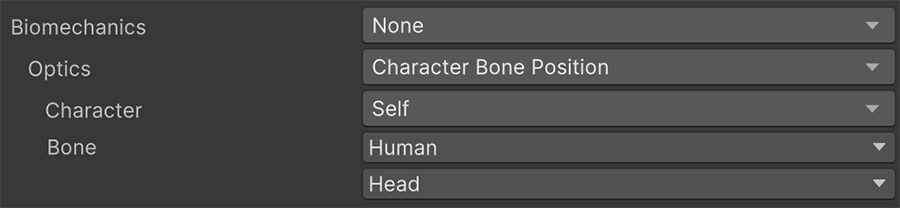
Biomechanics
The Biomechanics dropdown configures how the character translates and/or rotates its bones in order to attempt to aim at the desired point defined by the Aim field from above.
To know more about the Biomechanics options see the Biomechanics section
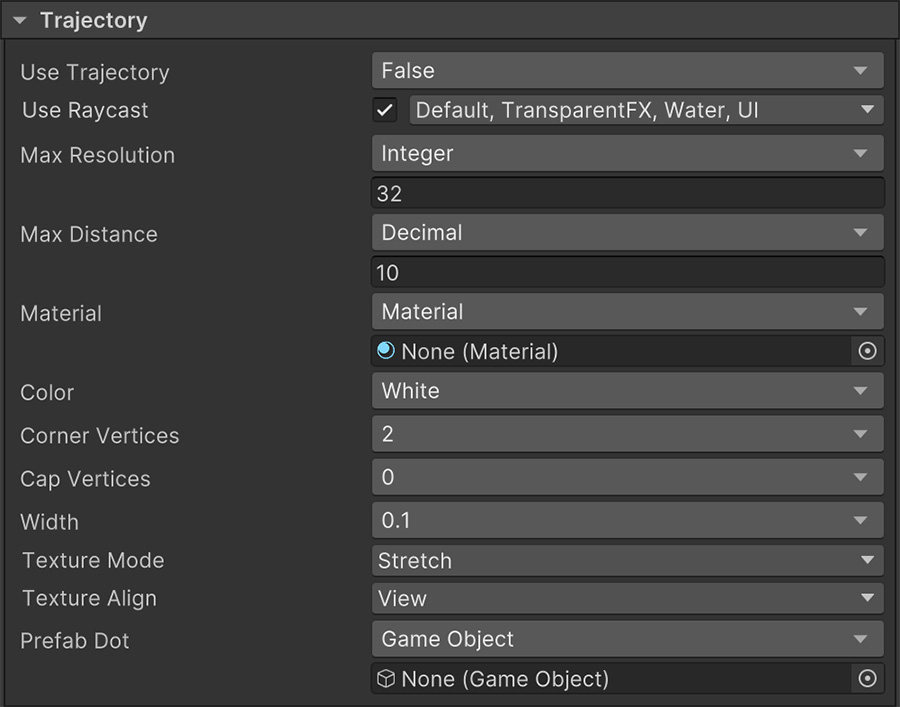
Trajectory
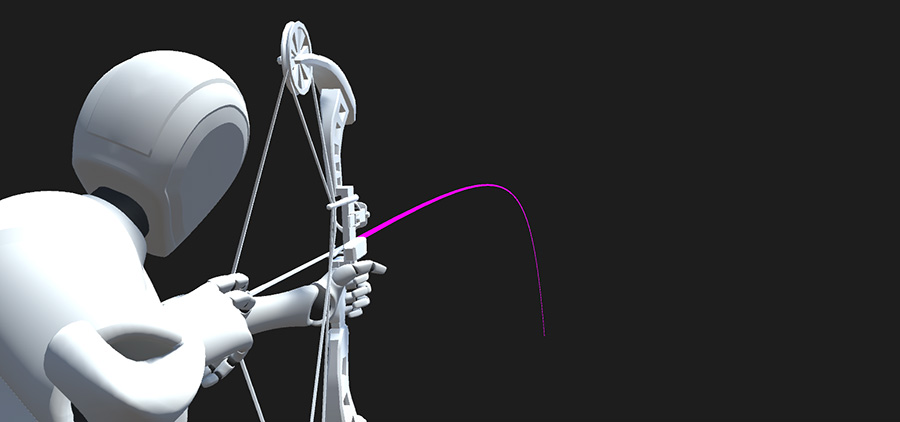
The Trajectory section allows to draw the trajectory of the projectile when using this Sight.
Note that in order to calculate the projectile's trajectory, the system has to trace multiple raycasts every frame and enabling this option could have an impact on performance.
When to use
Trajectories are specially useful for weapons that do not have enough with just a crosshair because the projectile is influenced by physics or other conditions. For example, an arrow, a crossbow or a sniper-rifle.
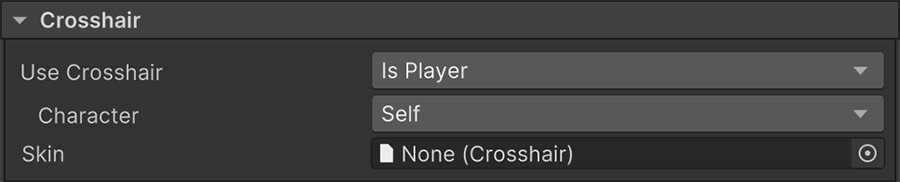
Crosshair
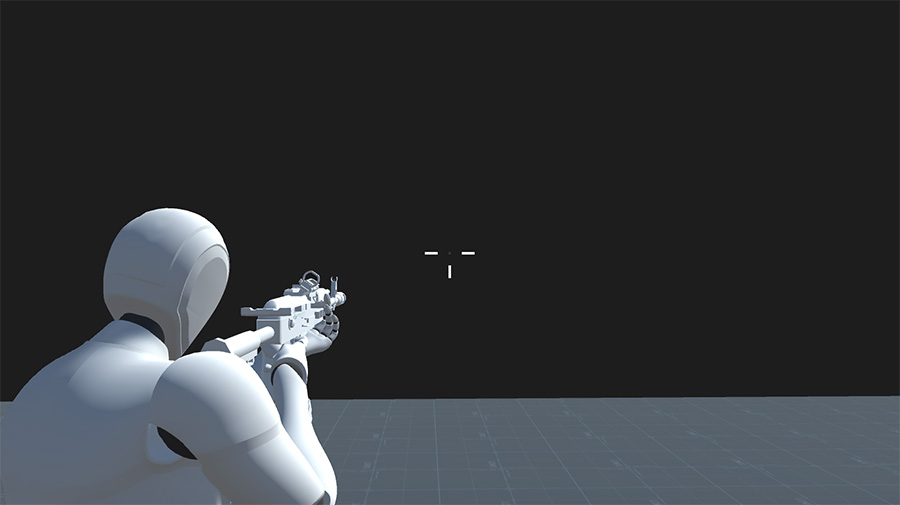
The Crosshair section allows to display a crosshair UI element on top of the camera which changes its shape to indicate the current character's accuracy.
This section accepts a Crosshair asset which is an optional reference to the skin of the crosshair, which can be reused for other weapons.
For more information about creating and using Crosshair assets visit the Crosshair section.
When to use
Crosshairs are meant to be used for weapons that are equipped by the Player and shoot straight projectiles without suffering the effects of external factors.
Laser
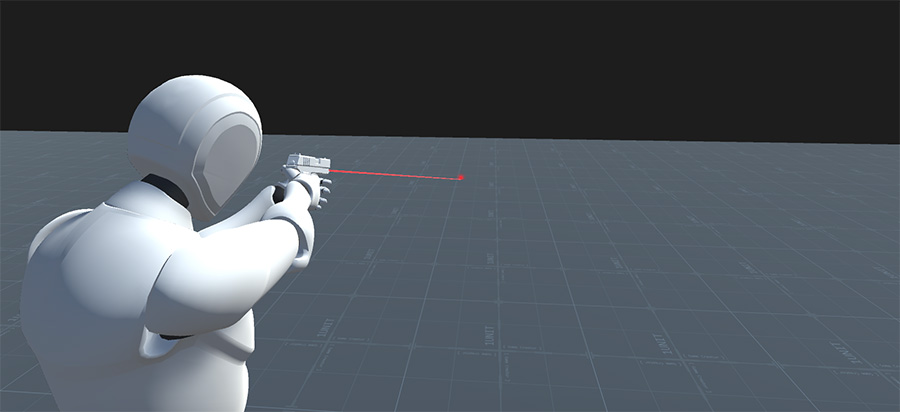
The Laser section allows to display a line renderer that moves in a straight line from the muzzle tip (plus an optional offset) forward.
If an object collides with the laser, an optional Dot prefab instance is instantiated at the collision point.
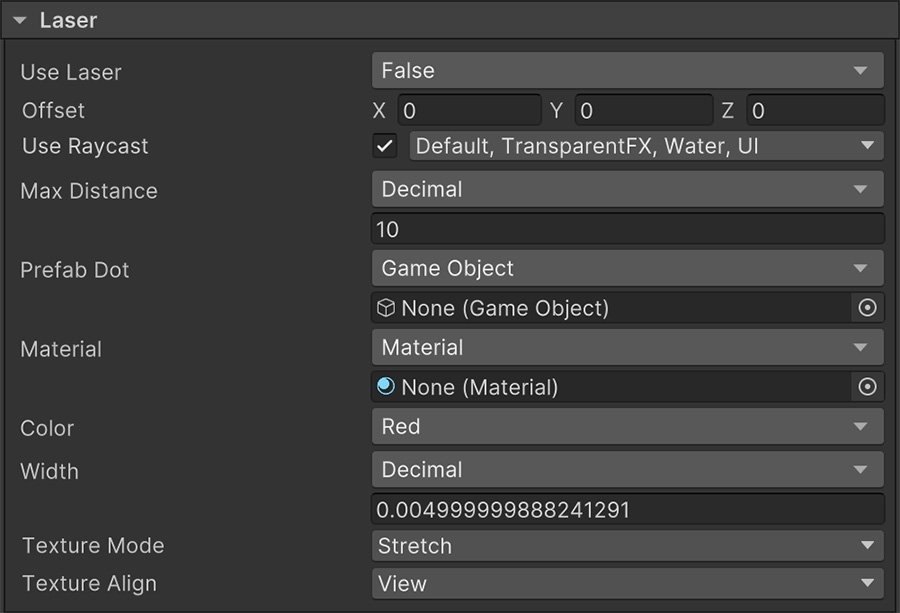
When to use
Lasers are useful for NPCs so the player sees where they are aiming at as well as for the player's weapons in case you want to avoid non-diegetic interface elements.
Animations
The last section of Sights is dedicated to how playing animations on weapons
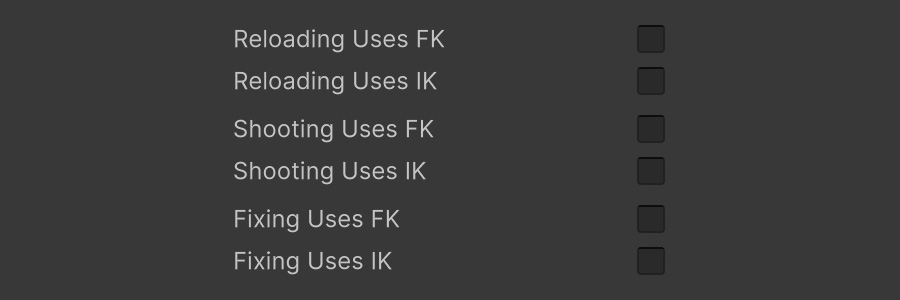
The Reloading uses FK, Shooting uses FK and Fixing uses FK fields determine whether during the animation the character should use forward kinematics or turn them off.
The Reloading uses IK, Shooting uses IK and Fixing uses IK fields determine whether during the animation the character should use inverse kinematics or turn them off.
When to enable
In most cases it is recommended to keep those checkboxes turned off because if the character is, for example, reaches to the hip to get a new ammo pack to reload the weapon, if the body is rotated 45 degrees to one side, the hand might reach somewhere else other than the hip and look unnatural.
However for cases where the hands don't have to mimic reaching out for a particular spot, enabling these values will allow animations to feel more natural, since they don't reset to the default pose when being played.