User Interface
The Shooter module comes with a few components and materials that help build user interfaces that communicate vital information to the player about the current amount of ammo, total amount, precision, and so on.
UI Components
There are two UI components that can be attached to any game object and refreshes its contents whenever a specific weapon on a character changes its value(s).
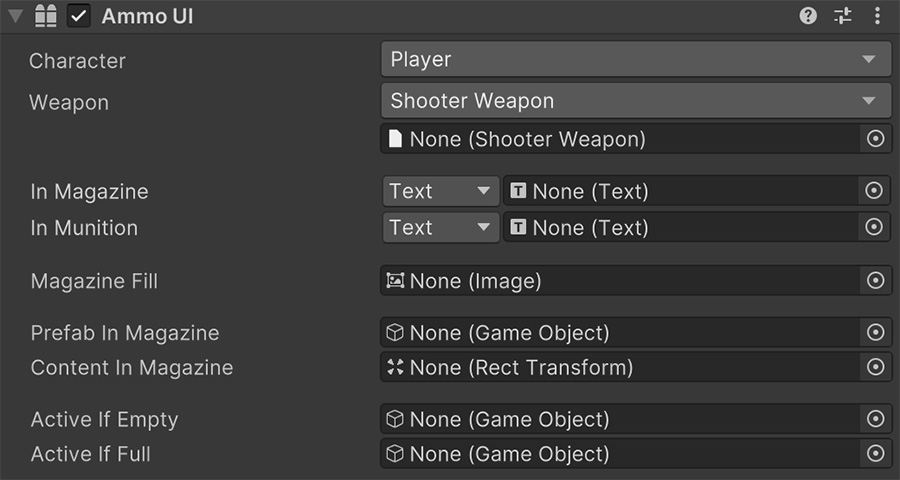
Ammo UI
This component can display a weapon's ammunition in multiple ways.
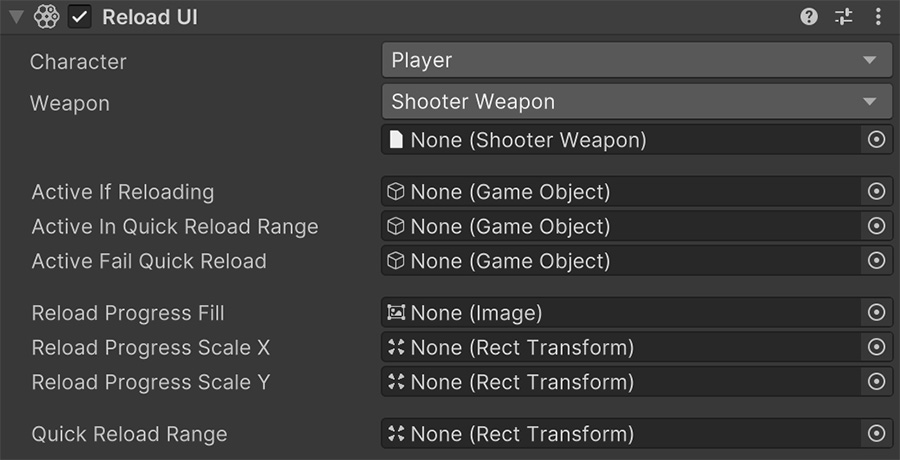
Reload UI
This component displays information when the chosen weapon is being reloaded, including information about the Quick-Reload timings and progress bars that show the remaining duration of a reload action.
Crosshairs
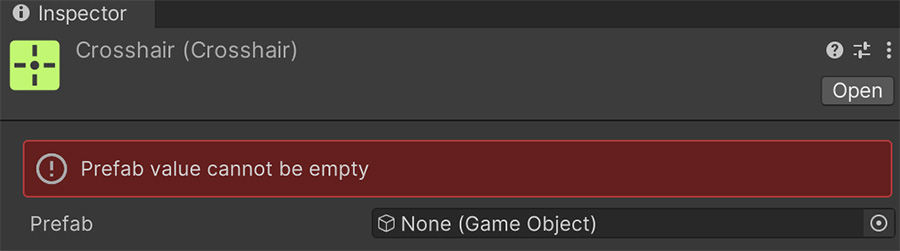
Crosshairs are a special kind of skins that can be reused among multiple weapons, and their asset reference must contain a prefab that has a Crosshair UI component at the root.
Crosshairs can be set in each Sight's Crosshair section and at runtime they will be displayed on the screen.
Crosshair UI
The Crosshair UI component contains multiple optional fields that can be filled with Unity UI elements in order to customize the behavior and design of the interface elements.
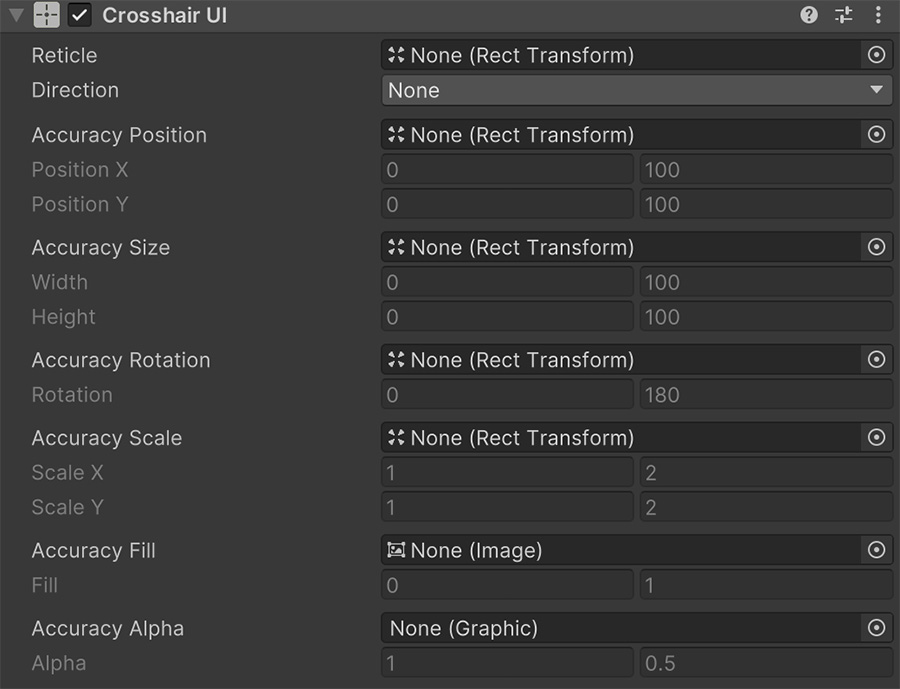
The Reticle references the object that can be moved around to represent the point in screen space where the character is aiming at.
The Direction field is a dropdown that allows to choose how the reticle behaves. By default it doesn't move at all but its value can be changed to:
- Away from Player: The reticle rotates away from the character wielding the weapon.
- Away from Screen Center: The reticle rotates away from the character wielding the weapon.
When to use Reticles
In most third and first person games, the reticle won't move so this field can be left in blank. However in some games, the reticle moves around the screen.
In top-down shooters or side-scroll games where the player stands in the middle and the aiming reticle shows where the shots will land, the Direction value should be set to Away from Player or Away from Screen Center, depending on whether the player is always at the center or can also move around.
The rest of the fields have two values in each line. The left value represents the value when the accuracy has its minimum value, while the right one represents when it's at its maximum.
For example, setting an image in the Accuracy Fill field with Fill value of 0 and 1 means that when the character's accuracy is at its lowest, the progress bar won't be filled at all. And when the accuracy is at its maximum, the progress bar will be filled.
Multiple examples
There are multiple examples of crosshairs in the demos. It is highly recommended to check them and understand how they work in order to create your own.
Scopes
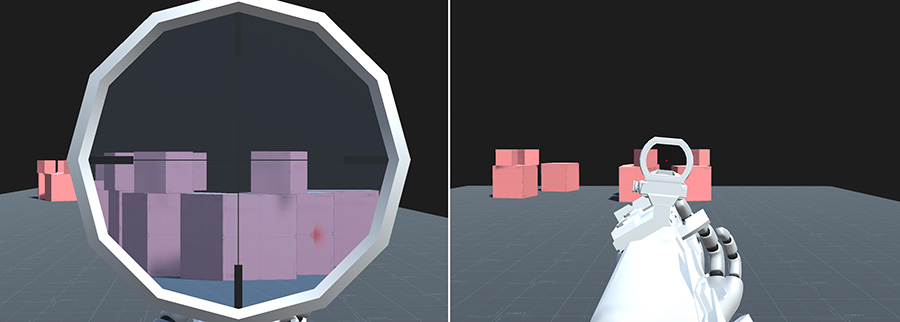
Although technically it's not part of the user interface, the Shooter module comes with a shader that can b applied to any material to simulate holographic scopes.
Sniper and Assault Rifle demos
The Sniper and Assault Rifle weapons included in the demos, both use a material with this shader applied.
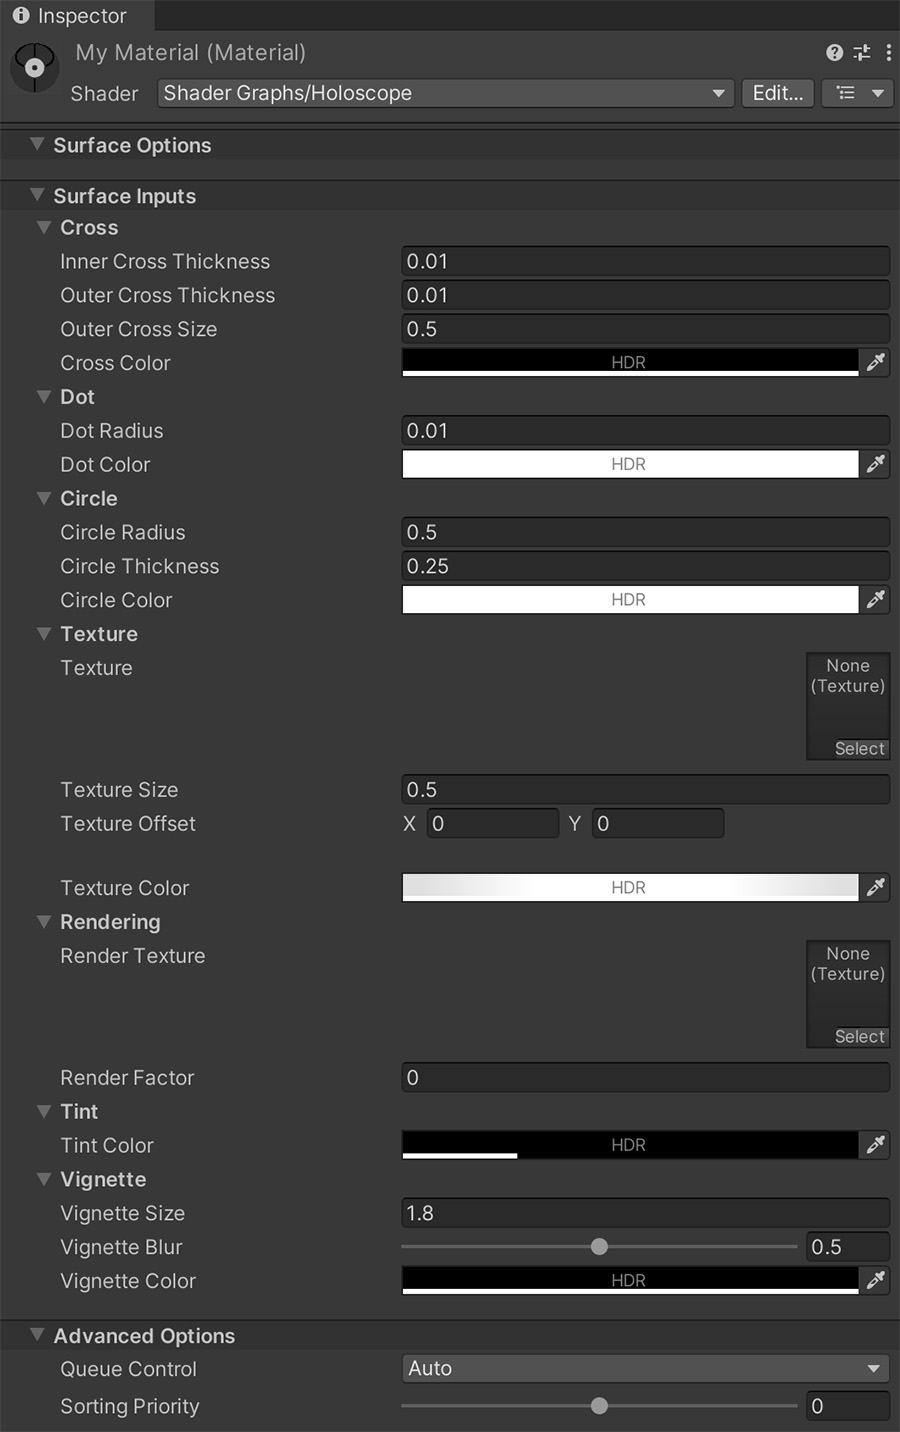
This shader has been carefully designed to include the maximum amount of utilities built-in squeezing maximum performance. However it also comes with the Shader Graph source in case you want make a copy and add extra features.
Holographic Scopes
Iron sights require two parts to b aligned in order to determine the direction of the weapon. On the other hand, holographic lenses project a dot at the infinite, allowing for a much more faster target acquisition.
The Holoscope shader comes with a few utilities that allow projecting multiple elements at the infinite in order to simulate the real-life behavior of a holo sight.