Motion Interactive
This asset allows characters to define a shared logic for Traverse Interactive components, including the animation used when switching between traversable components and entering new ones.
Asset
To create a new Motion Interactive right click on the Project Panel and select Create → Game Creator → Traversal → Motion Interactive.
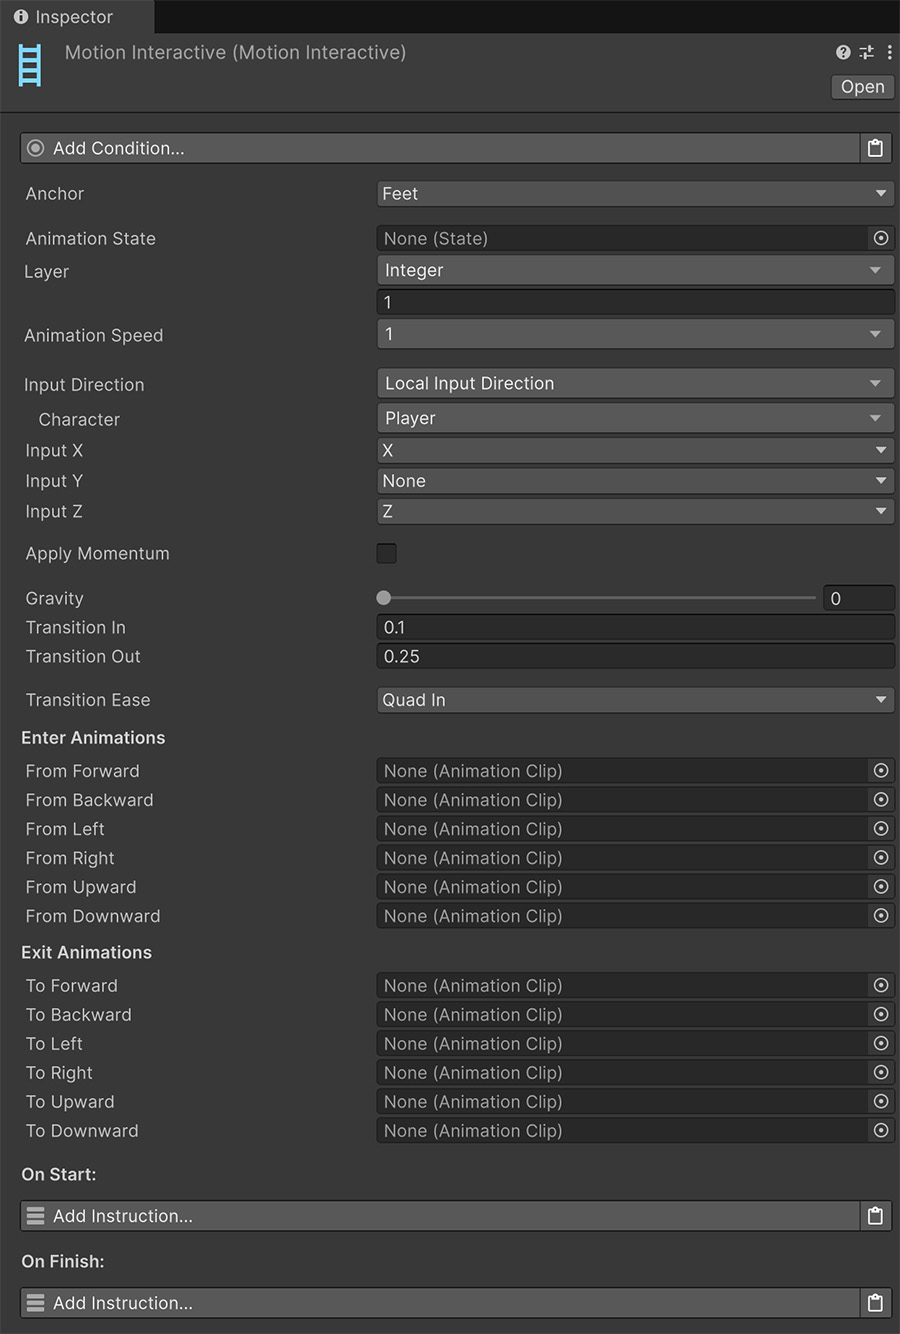
The Conditions at the top run every time the Traverse Interactive attempts to enter the traversable on a character. If these conditions are not satisfied, the traverse component won't run.
The Anchor field determines the point of origin from the character's perspective. Its values can be:
- Crown: The top-most point of the character.
- Center: The center of the character, usually around the belly.
- Feet: The bottom-most point of the character, usually touching the ground.
When a Character starts to run a Traverse Interactive it moves from a start position to the end position. This start position is relative to the anchor of the Motion Interactive.
When to use each Anchor
For traverse components that are at ground level it is recommended to use the Feet option.
The Crown option should be used when character's anchor position is at the top of their head, such as when hanging from a ledge that is over the head.
The Center is usually used when the character moves vertically along an obstacle path, such as a ladder.
The Animation State field makes the character enter an animation State when entering the Traverse Interactive at the specified Layer number.
New Animation States
It is important to note that the Traversal module includes two new animation States specifically designed for Traverse Interactive components. They can be found under the States creation menu.
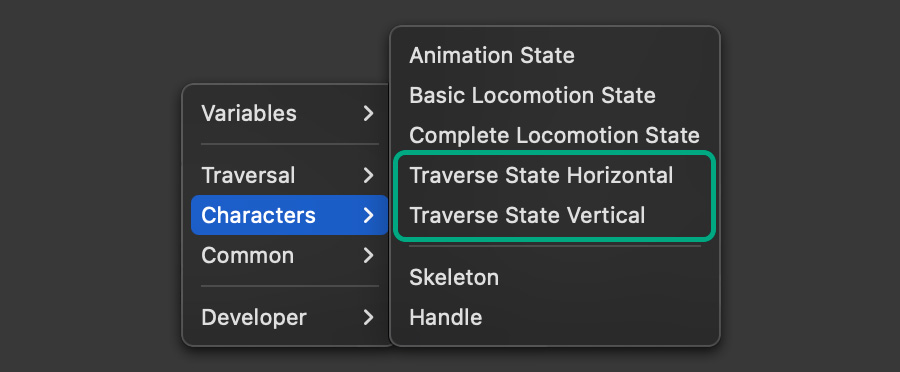
The Traverse State Horizontal and Traverse State Vertical allow to easily create animation states for characters that primarily move in a horizontal plane (like balance beams) or vertically (like climbing a ladder), respectively.
The Animation Speed controls the speed multiplier at which the State will run. A value of 1 means the animation will play at its normal speed.
The Input Direction is what determines the direction in which a character moves.
Local Space from Traverse Interactive
The Input Direction is in Local Space from the Traverse Interactive perspective. This means that you will need to swizzle the input axis so they correspond to the desired direction.
The Apply Momentum toggle allows the traverse to imbue some momentum to the character when finishing the traversal movement.
When to use Momentum
Some parkour movements finish with a great sense of momentum.
For example, sliding-down a wall finishes with a character letting go. If the character would suddenly stop after exiting the wall it would break the sense of momentum. The Apply Momentum checkbox allows the character to retain its end velocity for a set of time as well as the duration at which it will slowly retake control over the direction.
The Gravity field is a multiplier that determines how much gravity affects the character while traversing. A value of zero means there's no gravity and a value of 1 means gravity is left untouched from the character.
Transition In and Transition Out fields determine the time (in seconds) it takes for the animation to fade in and out from the character's locomotion.
The Transition Ease is the easing at which the fade happens.
The Enter Animations section contains 6 animation fields that correspond to the 6 possible axis from which a character can enter the Traverse Interactive component.
Upon entering a component, the character will automatically play one of the six animation clips, chosen based on the current position and rotation of the character at the start and at the end of the event.
Entering a Ladder
For example, if the character is currently climbing a ledge and jumps right to grab a ladder, the animation picked to enter the ladder will be the one called From Left, because the character will enter the ladder from the left side.
The Exit Animations section contains 6 animation fields too that correspond to all the possible directions in which a character can jump to switch to another Traverse component.
Exiting a Ledge
For example, if the character is currently climbing a ledge and jumps right to grab a ladder, the animation played while jumping off and arriving at the ladder will be the one called To Right, because the character will exit the ladder from the right side.
Mixing Enter and Exit animations
The Traversal module has a very unique system for mixing traversal animations. Upon jumping from one Traverse Interactive to another one, it will do the following:
- Start playing the chosen Exit Animation while moving towards the targeted Traverse Interactive position. The duration of the jump is determined by the duration of the exit animation.
- Upon reaching the target position, starts blending the current exit animation with the chosen Enter Animation.
- After the enter animation has finished playing, the character will regain control of the character and will be free to move around.
It is important to note that Exit Animations are used for transitioning between obstacles, while Enter Animations are used to settle the animation and break the sense of momentum from the jump.
The final On Enter and On Exit instructions are executed when the character enters and exits the Traverse Interactive component, respectively.